eManaged Pty Ltd Blog
Tip of the Week: Sync the OneDrive Files You Need with Windows 10

Microsoft OneDrive is a cloud file hosting service that uses synchronisation to allow users real-time access to saved information. OneDrive, is most associated with Office 365, to which it offers one terabyte of cloud storage (there is a free tier for consumers as well). Since OneDrive is often used to save Word, Excel, Powerpoint, and OneNote documents, having access to this information from your navigation pane inside of Windows 10 makes it simpler for users to get to files inside of OneDrive. Today, we’ll take a look at how to set the feature up to sync with OneDrive.
OneDrive comes preinstalled on Windows 10 and is integrated into the file explorer. This means file security and syncing is easy. All a user needs to do drag-and-drop the file into a file folder as you typically would inside of Windows Explorer. But what happens if you don’t want to sync your entire OneDrive with your Windows PC? Some people tend to use the cloud for specific purposes and don’t want their whole OneDrive folder available on the computer they are working on. Fortunately, Microsoft has developed OneDrive with the availability to assign what files users want to sync with Windows 10.
Here’s how:
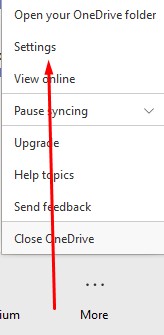
- Select the white (or blue) OneDrive cloud icon in the Windows taskbar notification area:

- It will open a pop-up screen. In this screen select More > Settings.
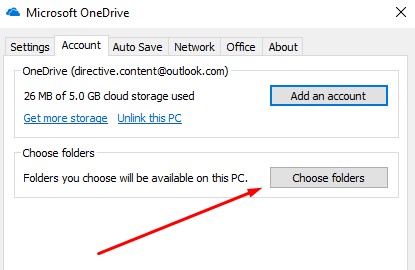
- Select the Account tab, and select Choose folders
- You have to make sure the “Make all files available” box is toggled off:
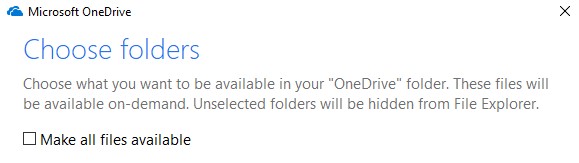
At this juncture you can select all files you want to see. Press OK and all the files you want synced with Windows 10 will be available in Explorer.
For more great tips and tricks that can help you be more productive, efficient, and effective, call the IT experts at eManaged today at 1300 363 308
About the author
Comments